Step One:
Finding the Right Structure
Old barns, houses, and commercial structures are the primary sources of the inventory we use to manufacture our products. These may include barns from the 1800s, textile mills now defunct, and other buildings such as old churches or schools. Those structures that have stood the test of time and have remained solid are our primary candidates for dismantling (reclaiming & repurposing). Once a contract has been agreed to between the seller and the demolition crew, and money paid, then the work can begin.
Step Two:
Demolition & Salvage
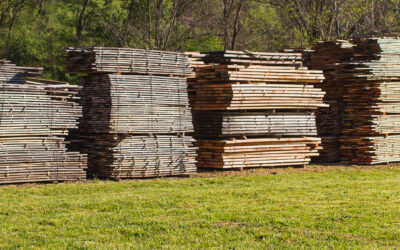
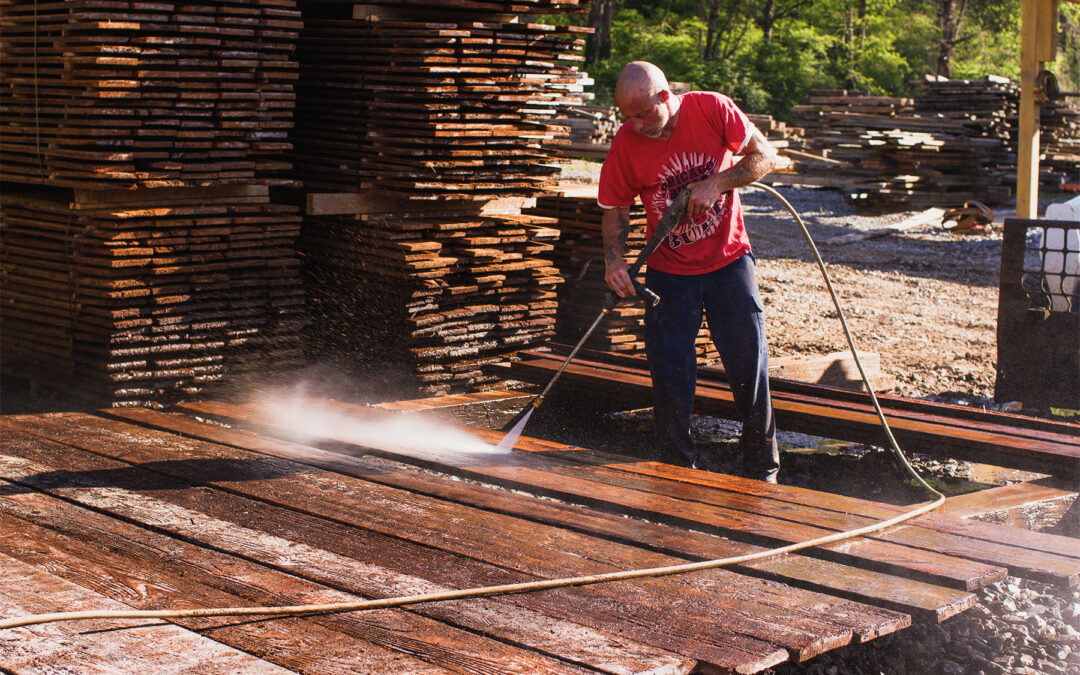
The basics of a structure demolition are essentially the same whether the structure is a barn or a large building such as an old textile mill or furniture plant. Men and machinery must be moved into place, all safety protocols carefully observed, and only then can the work begin. Demolition, if done correctly, is at best a dangerous and time-consuming labor of love. Generally, the structure is torn down by reversing the order of how it was originally constructed. If the roof was the last part of the barn to go on, it is the first part of the barn to come off. Much care must be taken not to break or destroy the lumber. The roof and the walls are the first to come down, and then the frame must be carefully dismantled. The site must be cleaned and left in good order, and lumber must then be hauled off to the lumberyard and mill for processing. This work can take a few days for a medium-sized barn, or up to a year or more for some of the huge mills built in the late 1800s.


Step Three:
Grading & Sorting
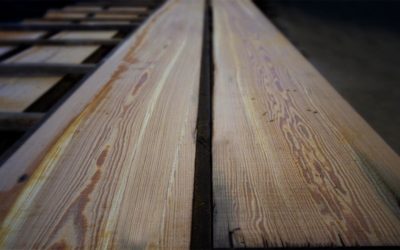
After the lumber has been delivered and unloaded at the yard, an evaluation must be made of what to use the lumber for. First the boards (or timbers) must be graded. A lumber grader must determine the suitability of each piece and sort it into stacks designated for floors, walls, furniture, or a myriad of other uses. A board suitable for a wall or ceiling may not be suitable for a floor, and it takes a trained eye to determine the difference.
Step Four:
Trimming
Now we have lumber that has been sorted for different applications and it must be processed further before it can be manufactured. Each board must be trimmed. All splits, rot, and other non-desirable characteristics must be trimmed out and disposed of. Boards are trimmed for maximum yield, width and length sorted, and then they go to the metal detection areas.


Step Five:
Metal Detection
All-metal (nails, screws, hinges, bullets, wire, etc.) must be removed from the boards before they can go through any of the milling process. This is one of the most labor-intensive steps in the entire process. Hand tools (hand-held metal detectors, claw hammers, crowbars, drills, pliers, and others….) are utilized in a manner that gets rid of the metal but does not ruin the patina or appearance of the board. Nails etc…quickly cost thousands of dollars if not removed before going through woodworking machinery. One missed nail can immediately ruin an expensive saw blade or moulder knife. We have seen many floor joists with upwards of 200 nails in each joist. All of them must be carefully removed!
Step Six:
Drying
If reclaimed lumber is to be used for residential construction it should be dry. There are two primary reasons for this. First, drying the lumber in a certified dry kiln removes any excess moisture from the planks, thus making them less susceptible to shrinkage, cupping, or “movement.” Equally important is killing the bugs. Drying and heat-treating the lumber to an internal temperature of 140 degrees F kills the insects that may have made a home in the lumber for the last 100 or so years. Drying time can be as little as 2 or 3 days, or can take as long as 2-3 weeks depending on factors such as thickness of the lumber or the moisture content when the lumber is loaded into the kiln.
Wow! We have now been able to find the barn, were able to buy it, tear it down, haul the lumber, sort it, grade it, trim it, pull the nails, and get it dry. The lumber is now ready for the mill. Next in the series, we will talk about how we turn lumber into a product for the home. Stay tuned!